Why this matters: The PayPal configuration card connects your ConsultGen booking widget to PayPal Adaptive Payments. You need a Client ID and Client Secret from your PayPal developer account, and the mode must match the credential set you are using. An optional Webhook ID can be added to receive payment event notifications back in ConsultGen.
Billing note: PayPal transaction fees are charged by PayPal and are not included in your ConsultGen subscription. Review PayPal's current pricing in your PayPal account settings.
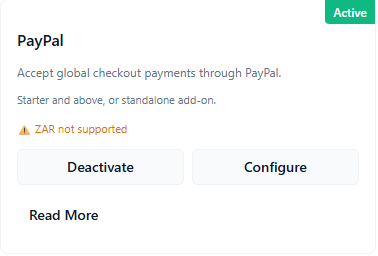
Currency reminder: PayPal Adaptive Payments does not support ZAR. Do not use this gateway if your booking prices are denominated in South African Rand.
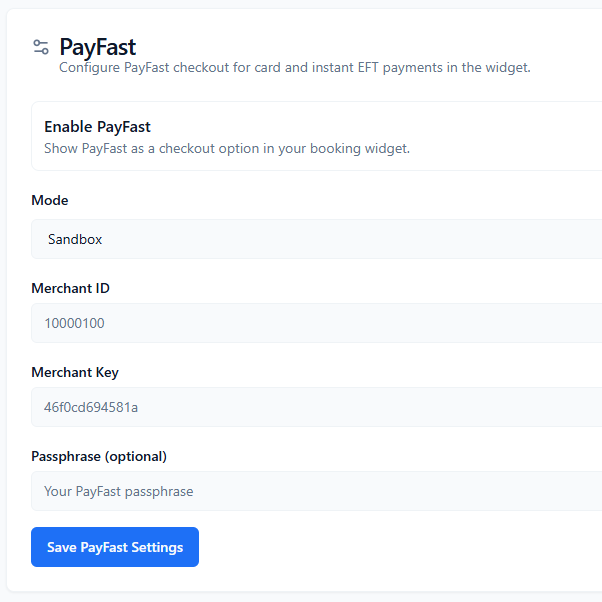
Configuration fields and controls
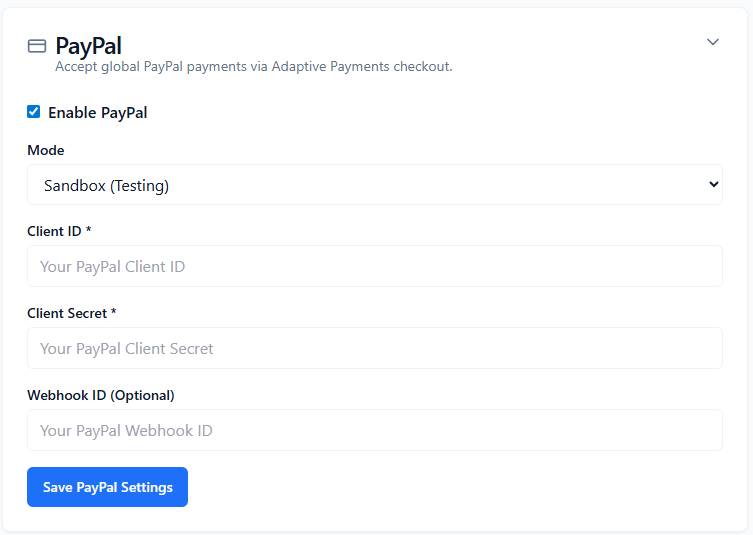
- Enable PayPal checkbox — turns PayPal checkout on or off in the booking widget. Must be checked for the payment option to appear during booking.
- Mode — selects the environment. Use Sandbox (Testing) while validating credentials and checkout flow. Switch to Live only when you are ready to process real payments.
- Client ID (required) — your PayPal application Client ID. Obtained from the PayPal Developer Dashboard under My Apps & Credentials.
- Client Secret (required) — your PayPal application Client Secret from the same location. Treat this as a password — do not share it publicly.
- Webhook ID (optional) — the ID of a webhook you have created in your PayPal developer account. When provided, ConsultGen can receive and verify PayPal payment events to update booking status automatically.
- Save PayPal Settings — persists your current configuration.
How to configure PayPal
- Enable PayPal. Check the Enable PayPal checkbox so PayPal appears as a checkout option in the widget.
- Select mode. Choose Sandbox for testing and switch to Live only when production credentials are ready.
- Get your Client ID and Client Secret. Log in to the PayPal Developer Dashboard (developer.paypal.com), go to My Apps & Credentials, and open your app (or create one). Copy the Client ID and Client Secret for the mode you selected — sandbox and live apps have separate credentials.
- Enter Client ID. Paste your PayPal Client ID into the Client ID field.
- Enter Client Secret. Paste your PayPal Client Secret into the Client Secret field.
- Add Webhook ID (optional). If you want ConsultGen to receive PayPal payment event notifications, create a webhook in your PayPal developer account and paste its ID here. This enables automatic booking status updates after payment.
- Save settings. Click Save PayPal Settings to apply your configuration.
- Run a test booking. Use Sandbox mode and PayPal's sandbox buyer accounts to validate the full checkout flow before switching to Live.
Sandbox vs Live
- Sandbox: PayPal provides sandbox buyer and seller accounts for testing. No real money is moved. Use sandbox credentials (Client ID and Secret from your sandbox app) during setup.
- Live: Processes real payments. Use live credentials from your live PayPal app. Switch to Live only after your sandbox tests pass and you are ready for real customers.
Sandbox and live apps in PayPal have separate Client IDs and Client Secrets. Make sure the credentials you enter match the Mode you have selected.
Webhook ID and payment event notifications
The Webhook ID field is optional. If left empty, PayPal checkout will still process payments, but ConsultGen will not automatically receive confirmation events from PayPal to update booking status — you may need to reconcile payment status manually.
To create a webhook: in your PayPal Developer Dashboard, open your app → Webhooks → Add Webhook. Set the notification URL to your ConsultGen webhook endpoint and subscribe to the relevant payment events. After saving, copy the Webhook ID and paste it into the ConsultGen Webhook ID field.
Troubleshooting checklist
- Confirm the Mode (Sandbox or Live) matches the credential set you entered — sandbox credentials will not work in Live mode and vice versa.
- Check for leading or trailing whitespace in the Client ID and Client Secret fields.
- Verify the Enable PayPal checkbox is checked and Save was clicked.
- Confirm your booking currency is not ZAR — PayPal Adaptive Payments will reject ZAR transactions.
- If booking status is not updating after payment, check whether a Webhook ID has been entered and the corresponding webhook is active in your PayPal developer account.
Common questions
Why is checkout not appearing in the widget? Confirm the Enable PayPal checkbox is checked, settings have been saved, and PayPal is active in Add-on Overview.
Why is my PayPal checkout failing even with correct credentials? The most common causes are: mode mismatch (sandbox credentials in Live mode), unsupported currency (ZAR), or an inactive PayPal app in the developer dashboard.
Is the Webhook ID the same as a webhook URL? No. The Webhook ID is the identifier assigned to a webhook you create in your PayPal developer account. The webhook URL is set in your PayPal account when creating the webhook and points to ConsultGen's PayPal receiving endpoint.